Setting up a retouching workplace
When setting up a workplace for retouching, there are several things to consider.
What hardware do you need
First of all, you will obviously need hardware to work on. Luckily, Photoshop isn’t very hungry for hardware, so a computer with a minimum of 16GB Ram and a graphics card that supports OpenGL should do.
Personally, I’m using a 2019 MacBook Pro and it’s been doing me a very good service while at my desk as well as on the go.
More important than the computer you’re working on, is the screen. If you can, go for an IPS panel that covers the AdobeRGB gamut. My personal preference is Eizo. Professional screens by that brand start at around 500€.
What you want to look for in a screen – apart from covering AdobeRGB – is first and foremost the uniformity. Precisely, backlight uniformity and white balance uniformity. Imagine, looking at an image that has a totally different white balance on the right side compared to the left side and adjusting it accordingly. It will end up completely off.
Don’t get distracted by the size of the screen – many other brands jumped on the “professional” train, tempting customers with bigger screens and some features for the same price. They more often than not lack exactly that uniformity, that is so important.
Especially since it’s harder to achieve good uniformity, the bigger the screen is.
I personally work on a 24” Eizo.
The next thing you need is a calibrator. You could go for xRite or Spyder. You need it in order to calibrate your screen to display accurate colors. This is a process that should be done repeatedly, every couple of weeks.
In order for calibration to make sense though, take a good look at the environment you’re working in!
This has way more influence on what you see than you might think.
Your work environment
A few things to consider when setting up your office.
Your office should have a controlled lighting. Meaning, no light from the outside – especially when working on colors.
Make sure your lights in the room have the same color temperature and pay attention to whether light hits the screen directly or not.
Your walls should be of neutral color. White, Grey or Black, if that floats your boat. Colors can and will spill on your screen and change your perception of the colors in the image.
Same when it comes to your clothes. Don’t wear anything colorful – the light of the screen will ultimately reflect from your shirt back on the screen and alter your perception of the color.
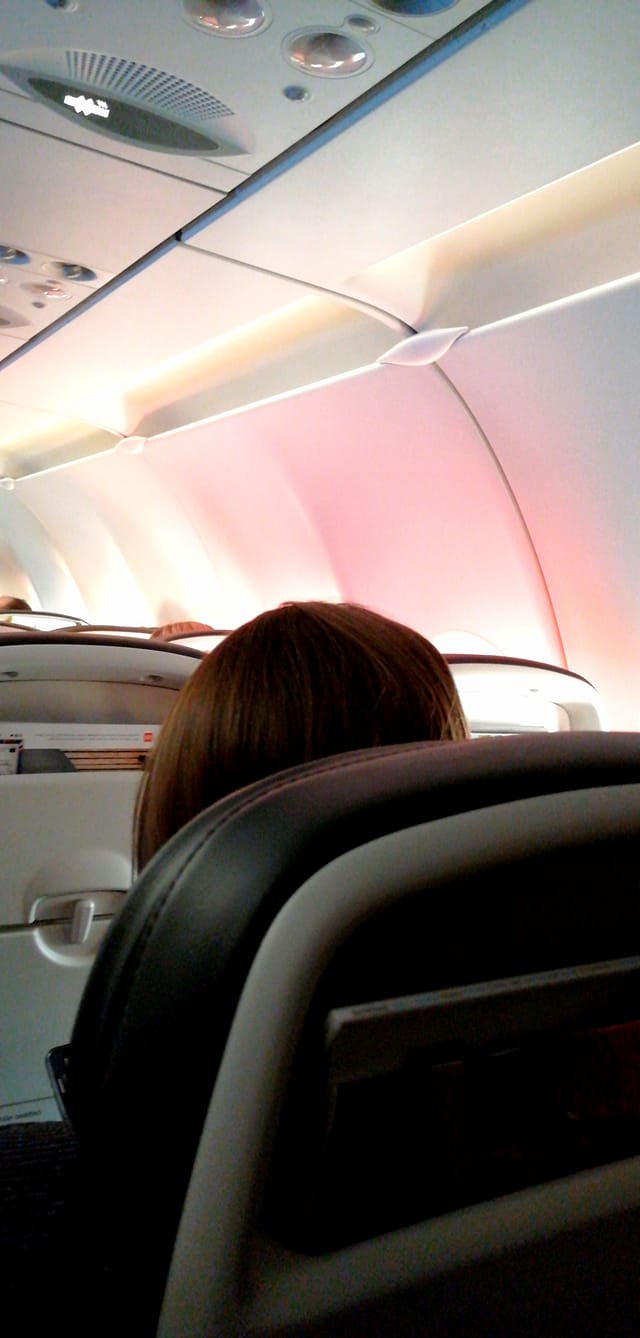
Here’s a photo I took on an airplane, that perfectly illustrates how a red shirt behaves when catching light.


